
Quick Start
Go live in 60 seconds
This is the fastest path to seeing GeoSwap in action on your website. Five steps, no technical knowledge required, no credit card needed.
By the end of this page, you'll have a working geo redirect that sends visitors from one country to a different URL — and you'll have tested it yourself.

Create your free account
Head to geoswap.co/login and sign up. It takes about 10 seconds. No credit card, no trial period. Every geo tool is free, forever.

Create a workspace
After signing in, you'll create your first workspace. Give it a name (like your website or company name) and enter your website URL. GeoSwap uses the URL to detect your script and suggest page targeting. One workspace = one website. You can create more later.

Add the GeoSwap script to your site
Copy the script snippet below and paste it into your website's <head> tag. This single line of code powers redirects, content swaps, bars, popups, and every other on-page tool. (Geo Links are short links, so they work without it.)
Paste in your <head> taghtml
<script src="https://cdn.geoswap.co/geoswap.js" data-project="YOUR_PROJECT_ID" defer></script>Replace YOUR_PROJECT_ID with your Project ID. The snippet on the Settings → Install Script page in your dashboard already has it filled in, so copying from there is easiest. Need help with a specific platform? See the Installation Guide for Shopify, WordPress, Webflow, and more.

Create your first rule
Rules target segments, so first make one: go to Segments, create a segment, pick United Kingdom as the country, and click Create Segment. Then go to Geo Redirect in the sidebar and click New Redirect. Here's a simple example to try:
Targeting
Choose Specific URLs and add your homepage: https://yoursite.com/. Or leave it on All Pages. See Page Targeting for URL patterns.
Redirect Rules
Add a rule, select your United Kingdom segment, and enter where UK visitors should go: https://yoursite.co.uk
Redirect Mode
Leave it on Automatic (instant redirect). You can switch to a popup or notification bar that asks first.
Give it a name and click Create Geo Redirect. The rule reaches the edge within about a minute. No deploys, no cache clearing.

Test it with Simulate Rules
You don't need a VPN to verify your rule works. Go to Tools → Simulate Rules in your dashboard. Pick GeoRedirect as the entity type, select the redirect you just made, choose "United Kingdom" as the country, and click Simulate. You'll see exactly which rule fires and where the visitor would be sent.

That's it. Your site now geo-targets visitors from the UK to your UK domain. The whole process takes about 60 seconds.
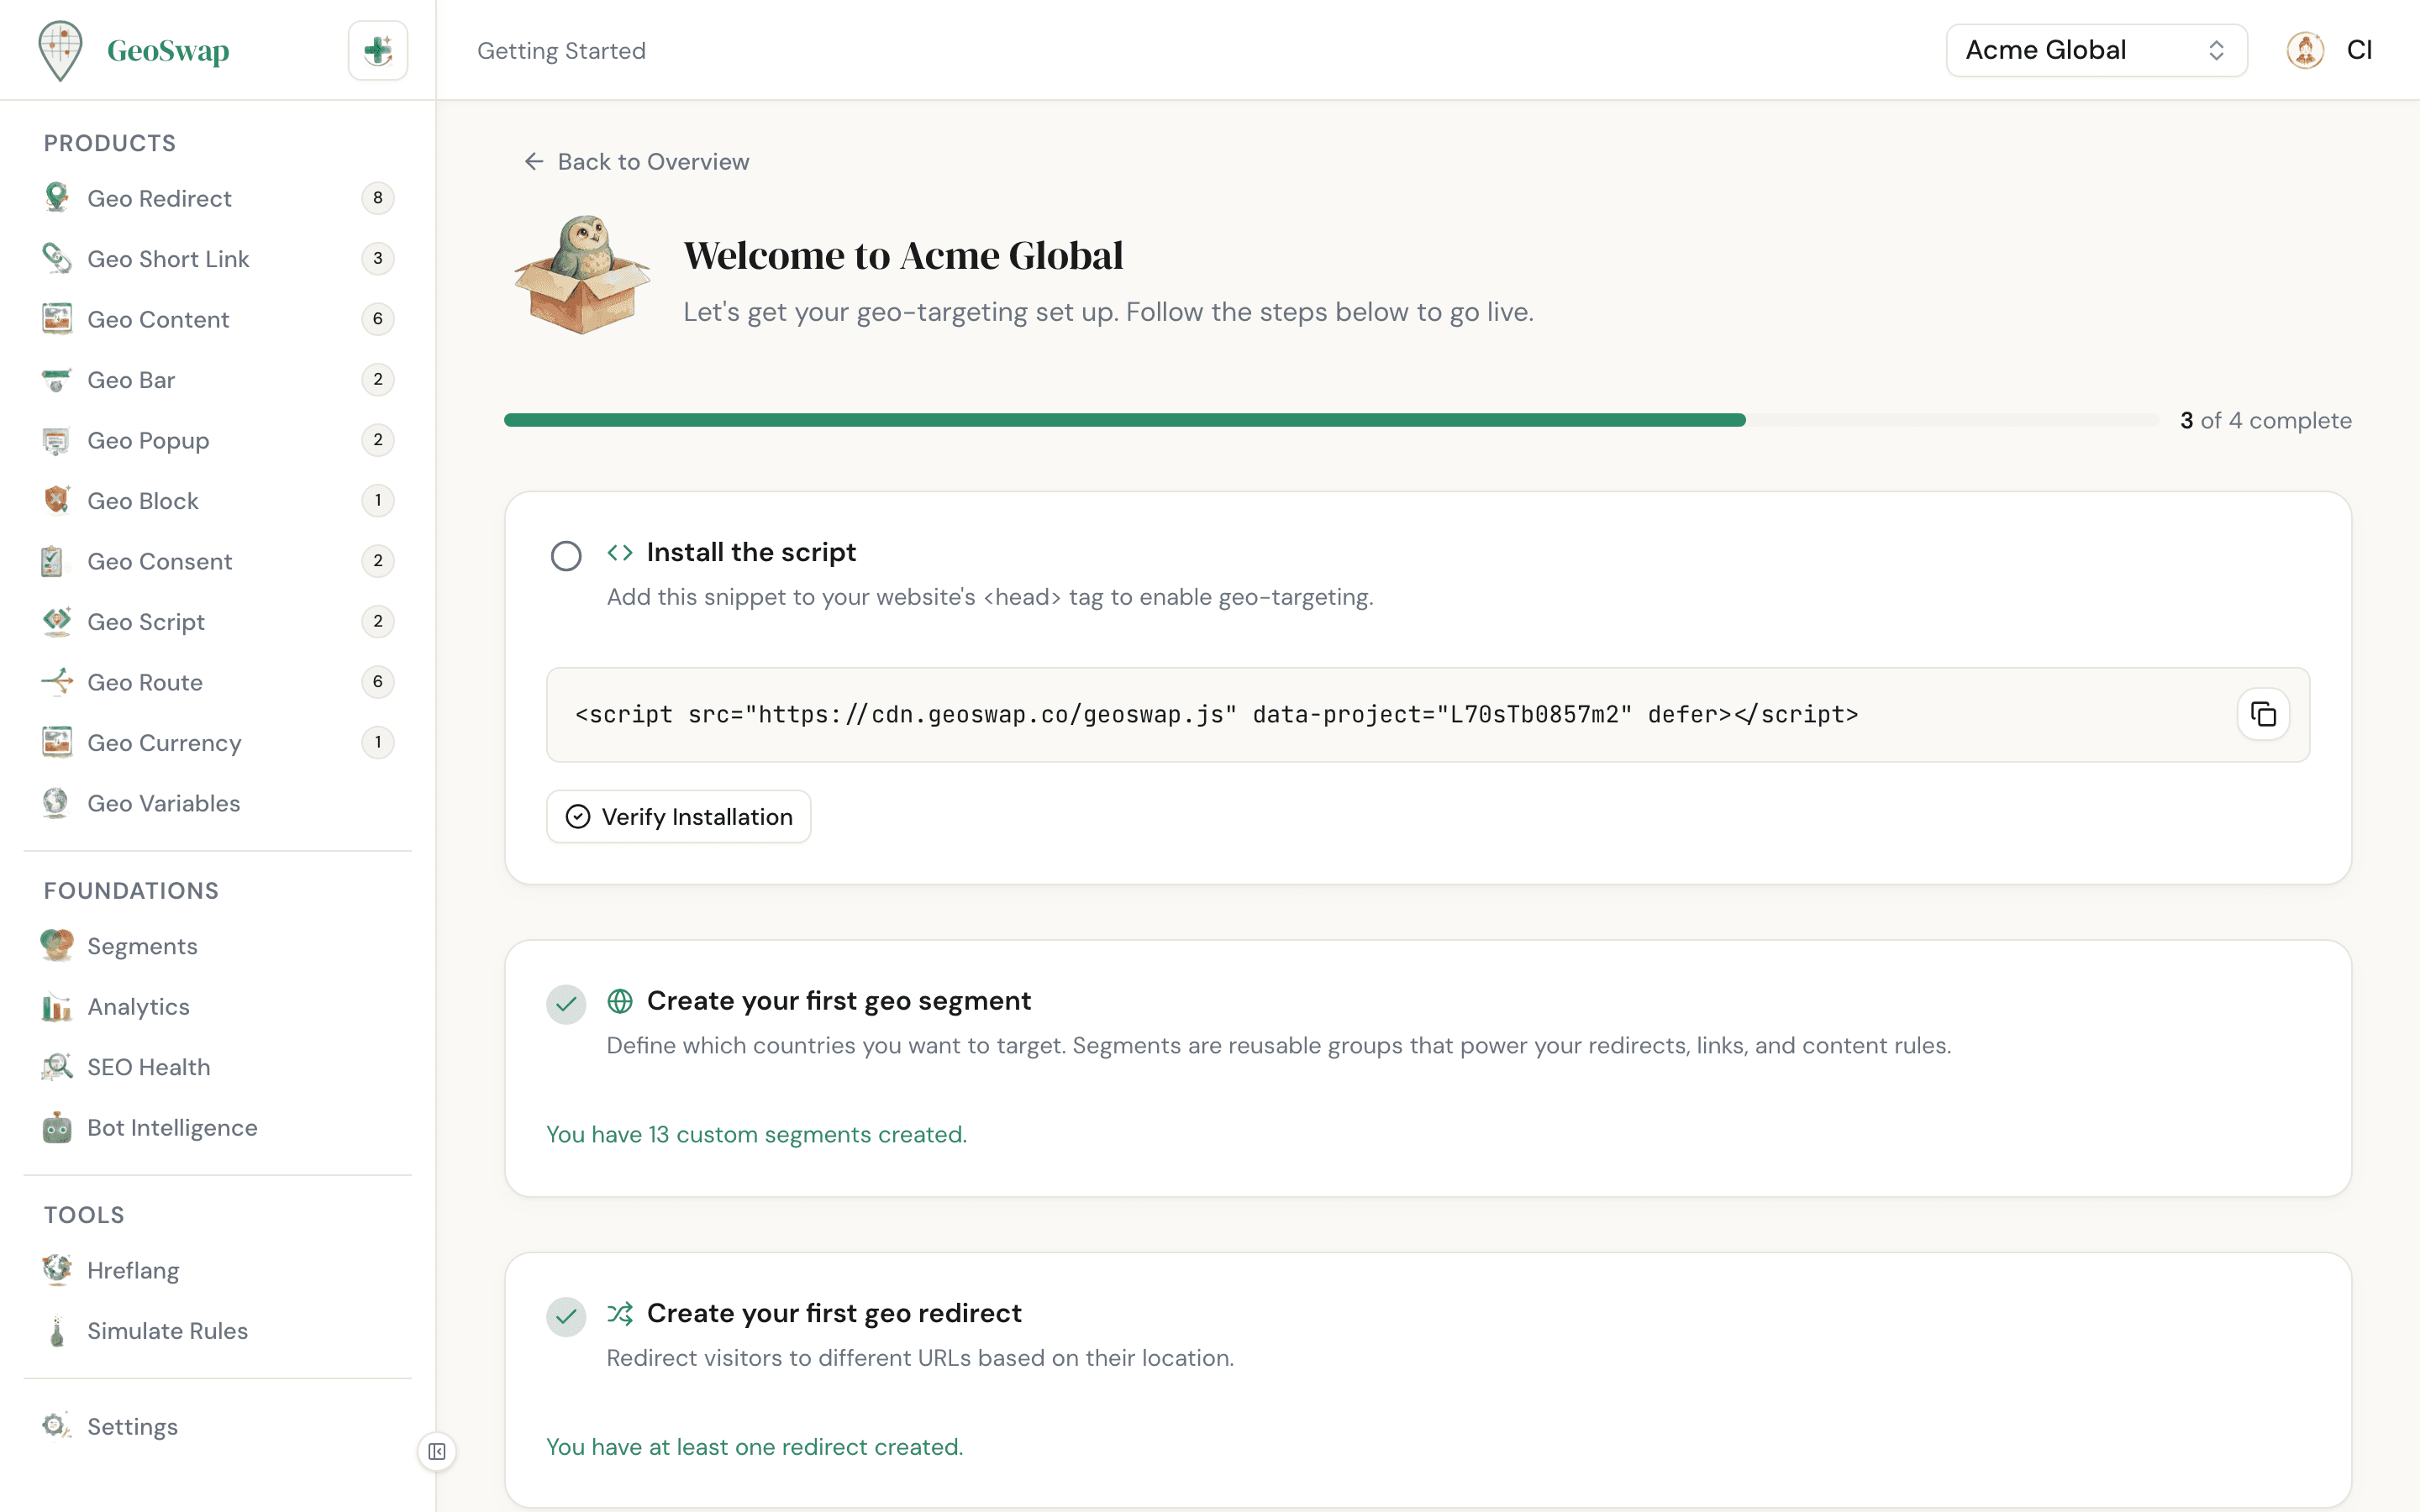
The Getting Started page in your dashboard guides you through setup step by step.
What's Next?
You've got your first rule live. Here's where to go from here depending on what you want to do:

Installation Guide
Platform-specific setup for Shopify, WordPress, Webflow, and more.

Segments
Target visitors by country, state, city, radius, or IP. The building block of all rules.

Geo Redirects
Redirect modes, passing the path and query string, first-visit-only, and referrer or IP whitelists.

Geo Links
Smart short links that route visitors to different destinations by country.

Geo Content
Swap text, images, or CTAs on your page based on visitor location.

How It Works
Understand the GeoSwap architecture: edge detection, rule evaluation, and SEO safety.

Next up
Need help installing on a specific platform? We have guides for every major CMS.