
Geo Consents
Cookie consent banners that know where your visitors are
What Are Geo Consents?
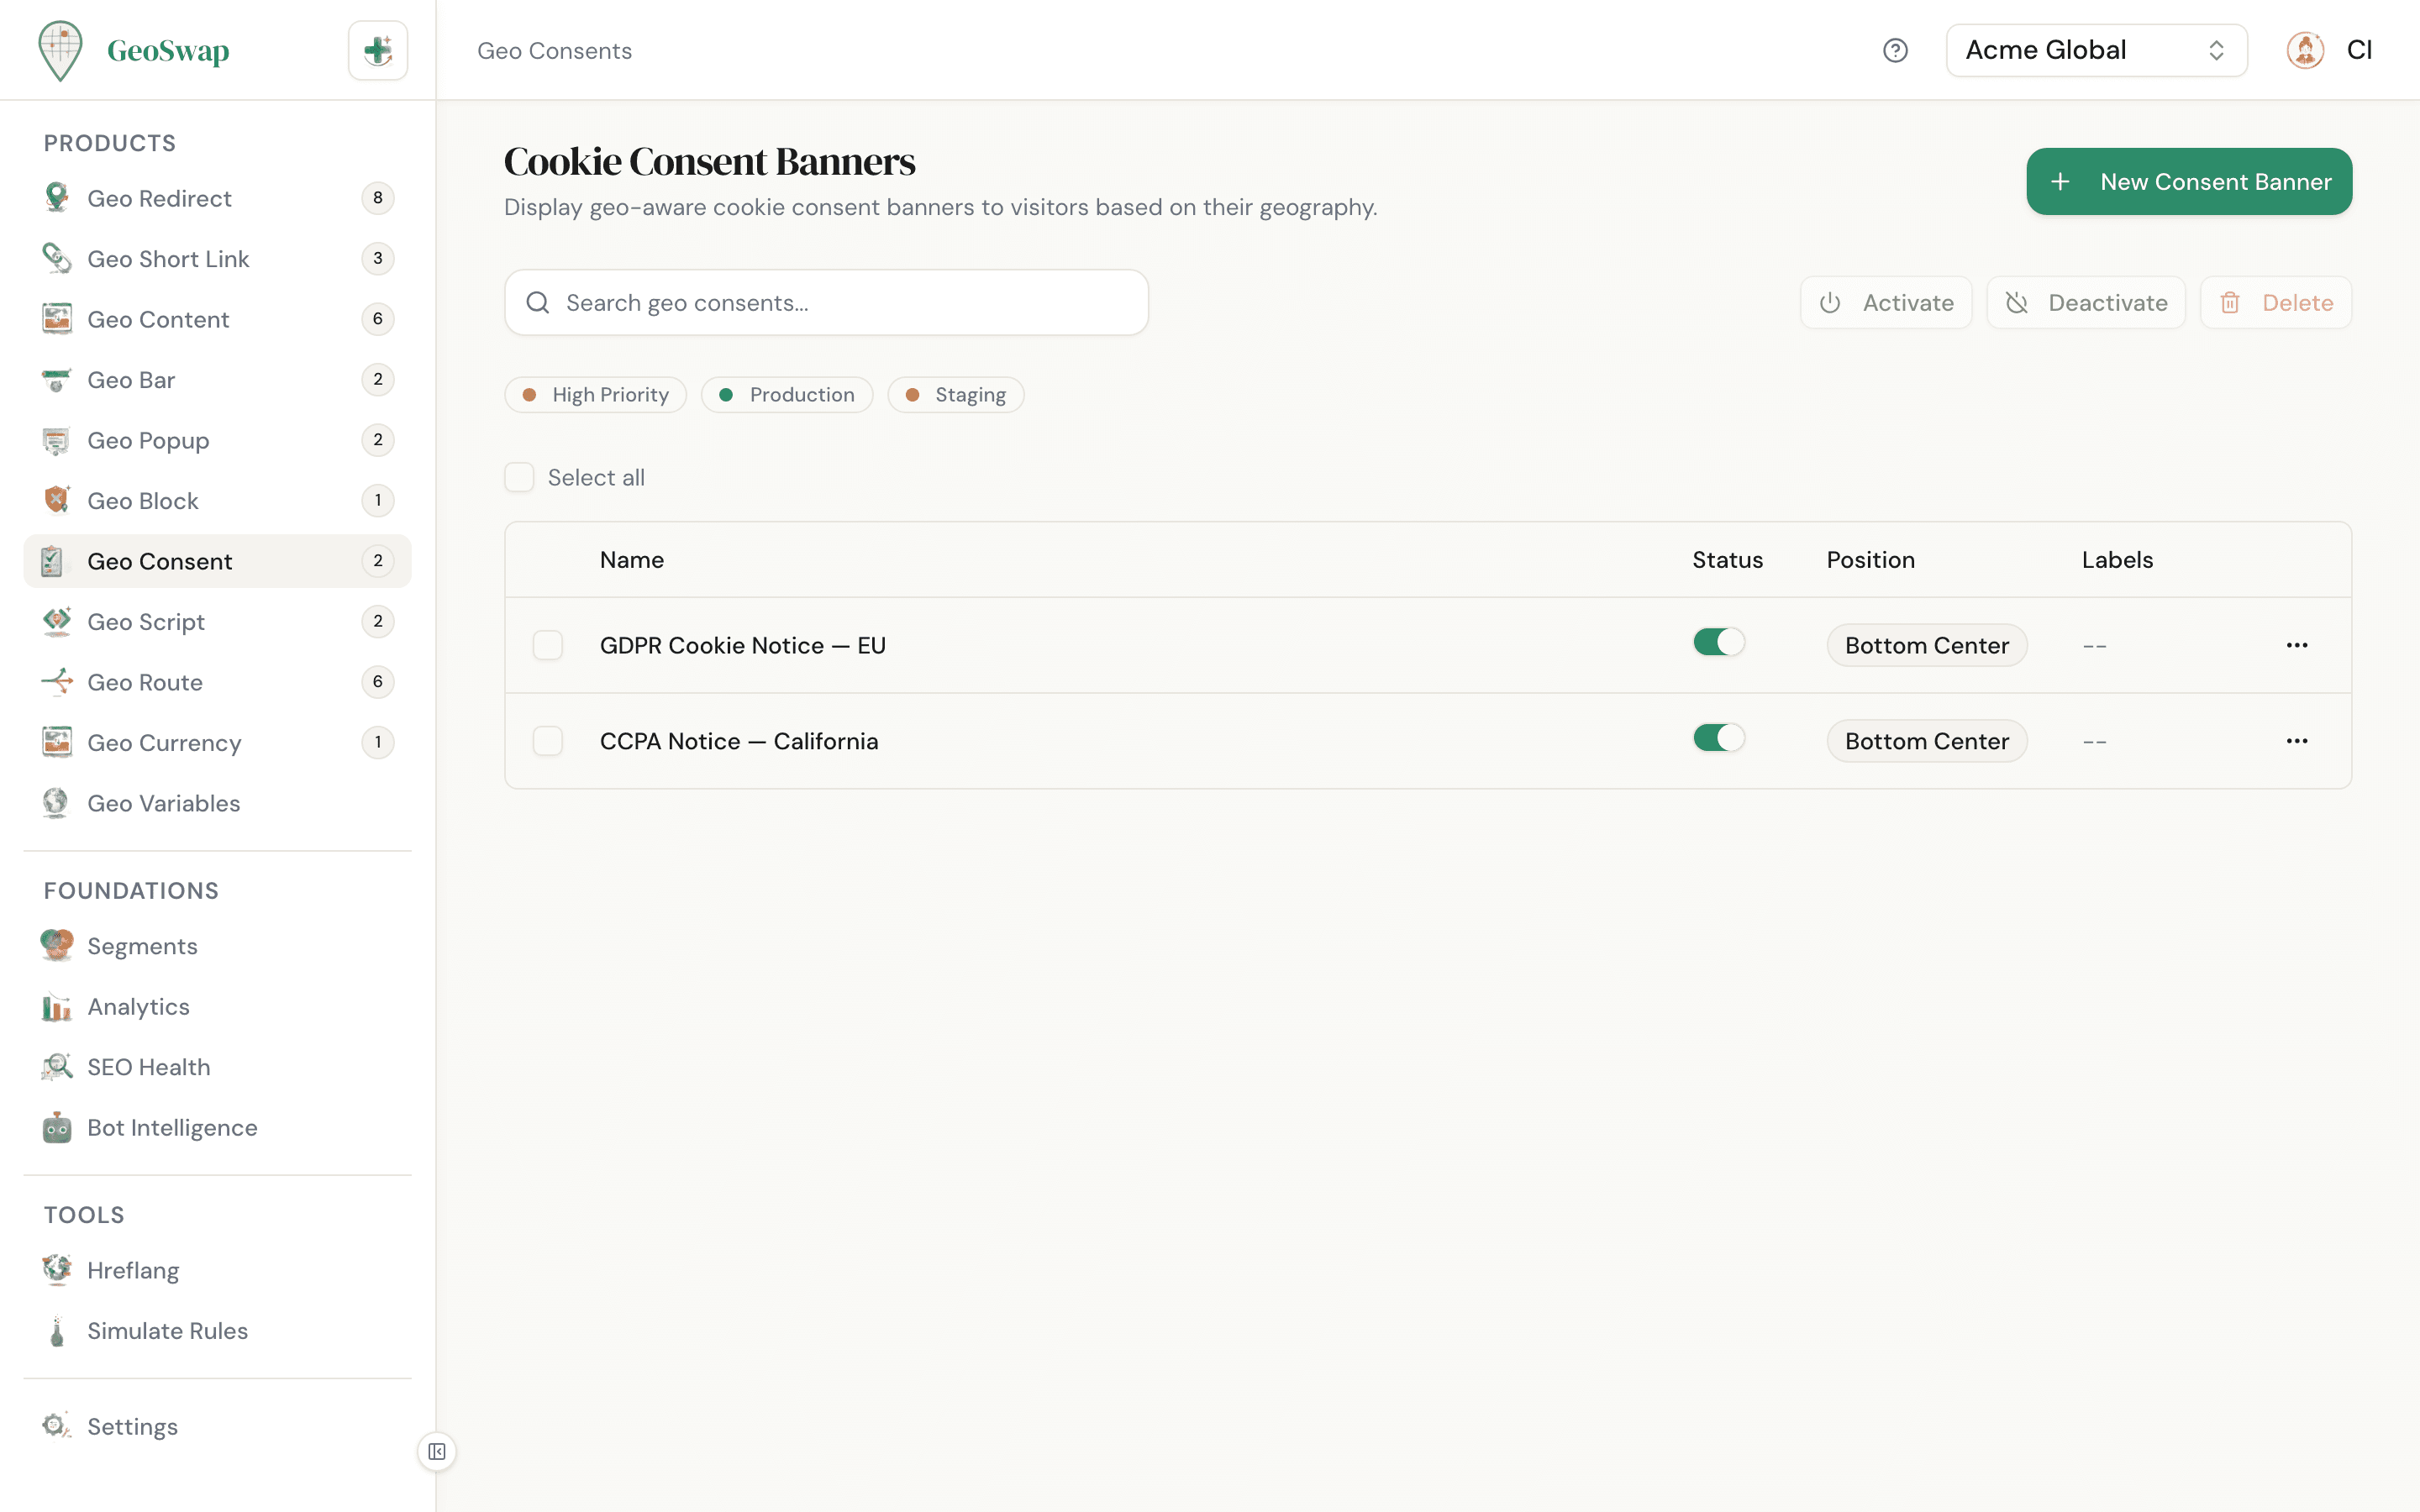
Cookie consent banners that only appear where they're legally required. Why show a GDPR notice to visitors in Texas? Or a CCPA popup to someone in Berlin? With Geo Consents, the right banner shows up for the right audience — and nobody else.
GeoSwap detects your visitor's location and shows the matching consent banner automatically. European visitors see your GDPR notice. Californians see your CCPA message. Everyone else can browse without interruption (or see a generic cookie notice — your call).
Use Cases
GDPR consent for EU visitors
Show a detailed cookie consent banner only to visitors from European Union countries, where GDPR requires explicit consent before tracking.
CCPA notice for California
Show an opt-out banner to California visitors, where tracking is allowed by default but visitors can turn it off under the California Consumer Privacy Act.
Generic cookie notice for everyone else
Show a simple, non-intrusive cookie notice to visitors outside regulated regions — or show nothing at all.
Different messages per region
Create one banner per region, each with its own message, colors, consent mode, and privacy link. A UK banner can reference UK GDPR, while a Brazilian banner references LGPD.
How to Create a Geo Consent

Go to Geo Consent
Open your workspace dashboard and navigate to Geo Consent in the sidebar.

Click "New Consent Banner"
Give the banner a name and pick which pages it runs on: all pages, specific URLs, or a URL pattern. Patterns are regular expressions, checked against both the full address and the path. See page targeting.

Design your banner
Write the banner message, add a privacy link, and set the colors and position. Then choose a consent mode (opt-in or opt-out) and whether visitors get Analytics and Marketing categories. Once it's saved, use the Preview button to see how it looks.

Target a segment (optional)
Under Geo Targeting, pick a segment to show this banner only to specific regions. For example, select your "EU" segment for a GDPR notice. It starts on "All Countries", which shows the banner to every visitor.

Save and go live
Click Create Consent Banner. It appears automatically for matching visitors on the pages you targeted, wherever the GeoSwap script is installed.
Appearance Options
The banner is a compact bar at the bottom of the screen: a cookie icon, your message, an optional privacy link, and two round buttons (a check mark to accept, an X to decline). Here's what you can change:
Option
Description
Banner message
Plain text, up to 200 characters. It starts as "We use cookies."
Privacy link
On by default. Set the link text (default "Details") and the URL of your privacy policy. It opens in a new tab.
Background color
The banner background (default white).
Accept button color
The color of the accept button and the Save button in the preferences panel (default #2D8C6A).
Banner position
Bottom left, bottom center, or bottom right.
After dismissal
Show cookie icon (the default) leaves a small cookie icon on the page so visitors can reopen their preferences later. Hide completely removes the banner once they choose.
Collapse icon position
Whether that cookie icon sits on the left or right.
Banner style
Bar is the only style today. A popup style is marked as coming soon.
Consent Mode and Categories
Opt-in (GDPR)
The default. Consent-gated tags (see below) wait until the visitor accepts, and Google tags start as "denied". Use this for the EU, the UK, and other opt-in regions.
Opt-out (CCPA)
Consent-gated tags run from the first page view, and the visitor can turn them off. Use this for US states like California.
Categories
Tick Analytics and/or Marketing to give visitors separate toggles. Leave both unticked for a simple accept/decline banner. Accepting grants everything. Clicking the X opens a Cookie Preferences panel where "Necessary" is always on and the other categories start off, so the visitor picks what to allow and clicks Save.
The choice is saved in a cookie for 365 days, so the banner doesn't come back on the next page or the next visit.
Loading Tags Only After Consent
To hold back a tracking script until the visitor agrees, change its type to text/plain and add a data-consent attribute with the category. GeoSwap turns it into a live script once that category is granted.
Consent-gated tagshtml
<script type="text/plain" data-consent="analytics">
  // your analytics snippet
</script>

<script type="text/plain" data-consent="marketing" src="https://example.com/ads-pixel.js"></script>
GeoSwap also sends Google Consent Mode v2 signals. If gtag is on the page, it sets the default consent state (denied for opt-in, granted for opt-out) and updates it when the visitor chooses. It also pushes geoswap_consent_default and geoswap_consent_update events to the dataLayer for Google Tag Manager.
Geo Targeting
Geo targeting is what makes Geo Consents different from a basic cookie plugin. Instead of blanketing your entire site with the same notice, you show each region exactly what they need to see — nothing more, nothing less.
Why targeting matters
Privacy laws are regional. GDPR applies to the EU, CCPA to California, LGPD to Brazil, POPIA to South Africa. Showing every visitor the same all-encompassing consent banner creates unnecessary friction for people who don't need it — and may not even meet the requirements for people who do.
How to set up per-region consents
Create a segment for each region (e.g., "EU Countries", "California", "Brazil"), then create a separate Geo Consent for each segment. Each consent gets its own message, colors, consent mode, and privacy link tailored to that region's requirements. Only one banner shows per page, so keep the segments from overlapping. For example, pair an EU banner with an "everyone except the EU" banner rather than "All Countries".
Show to everyone (no targeting)
If you want a universal cookie notice for all visitors, leave Geo Targeting on "All Countries". The consent banner will appear for everyone, regardless of location.
No Extra Plugins Needed

Built into the GeoSwap script
If you already have the GeoSwap script on your site, Geo Consents work automatically. No extra JavaScript files, no cookie consent plugins, no additional page weight. One script handles everything — redirects, content, popups, bars, and consent banners.
Haven't installed the script yet? See the Installation Guide for platform-specific instructions.
Add to <head>html
<script src="https://cdn.geoswap.co/geoswap.js" data-project="YOUR_PROJECT_ID" defer></script>Best Practices

Create separate consent banners for each regulation (GDPR, CCPA, LGPD) rather than one generic banner that tries to cover everything.
Use clear, simple language. "We use cookies to improve your experience" is better than three paragraphs of legalese.
Link to your full privacy policy from the banner so visitors can learn more if they want to.
Pick background and button colors that match your site, so the banner looks like part of the page.
Test your consents with Simulate Rules in your dashboard to verify the right banner appears for each region.
With All Pages targeting, the banner appears on every page where the GeoSwap script is installed. Check that it doesn't cover important buttons or chat widgets in the bottom corners of your site.

Next up
Show prices in your visitor's local currency — automatically.